I promised a quick tutorial on how to make a Double Z card, so...here it is! Hopefully you'll find it very easy to do as there's no measurements! (I'm rubbish at them!)  1. Chose two blank cards, any size and fold both fronts in half. Use a bone folder if you have one to make a nice crisp edge, but don't worry if you haven't. Add some double sided tape to one of the unfolded backs, or whatever glue you like to use. I find PVA glue seems to make it 'bendy' I know what I mean! (I used both, tape and photo glue)
 1. Chose two blank cards, any size and fold both fronts in half. Use a bone folder if you have one to make a nice crisp edge, but don't worry if you haven't. Add some double sided tape to one of the unfolded backs, or whatever glue you like to use. I find PVA glue seems to make it 'bendy' I know what I mean! (I used both, tape and photo glue)
 2. Fix the two cards together as above... see easy. It's already looking like a Z Card!
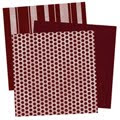
 3. Chose some backing papers. You can mat them up in layers if you wish, but I just did this very quickly without matting... (Matting different colours does look better though!)
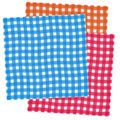
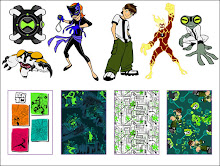
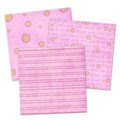
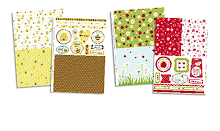
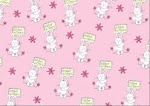
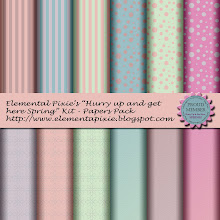
 4. Add some backing paper to the front. I made sure they matched up once closed, but if you're using a pattern that doesn't have to match, it doesn't really matter! You can cover all the inside panels if you wish to.
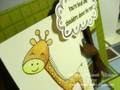
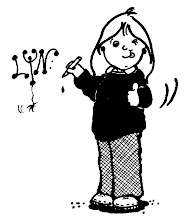
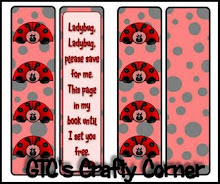
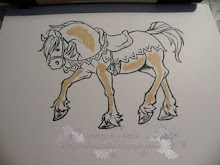
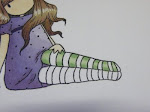
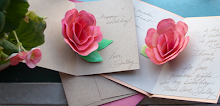
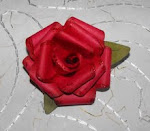
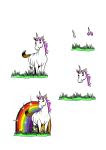
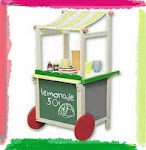
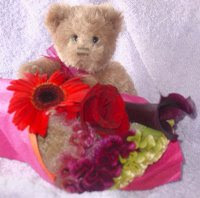
 5. Not necessary, but I've added some peel-offs, coloured my chosen image and have cut it out using a scalloped Nestabilitie and picked out some matching ribbon. I've also cut out some pink card (seen here on the left) to fix my image on. This is just to make it a little stronger (and hides any bleed through from your Promarkers/Copics)
 6. Ooops! I forgot to take the photo! But close the card up and then rap the ribbon around it, tying it to one side (right as you look at it) and then using 3D foam pads fix your image onto the left side (as you look at your card) and over the ribbon. Don't fix it on both sides otherwise you won't be able to open your card...(who's done that then, I wonder?)
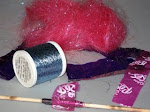
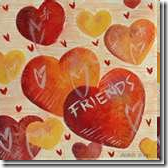
 7. Add sentiments or image inside the card and then loads of embellishments if you want too!
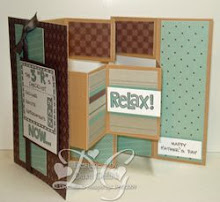
There you go, told you it was easy!!


Thanks for the instructions...that looks like a great card for using 12x12 papers with a big illustration on them. Woohoo! And thank you! :) Your completed card is lovely!
ReplyDeleteThanks it looks fab. Can't wait to try it out.
ReplyDeletethanks for instructions to this ,i found it realy easy to follow .i hope you do more :) im just putting mine together :) huggs jo x
ReplyDeletegreat tutorial--will do this one
ReplyDeleteDiane
Oh (Squeal!) Thank you so much!!!
ReplyDeletexo Nana
Oh (Squeal!) Thank you so much!!!
ReplyDeletexo Nana
You made it look so EASY!! And I'm thinkin' "I can do that!"
ReplyDeleteTFS
Nancy Sapp in central IL
Thank you Nancy, why not show us what you make and I will add it here!
Delete